
Iridium Mail & Web mobile application is available for download on the Google Play™ store. This quick start guide provides step-by-step instructions for configuring Iridium Mail & Web application & its various features to work with Iridium GO!.
Download Iridium Mail & Web app
While connected to a Wi-Fi network (recommended) or a terrestrial cellular network with data connection, search for ‘Iridium Mail & Web’ in Google Play store. Download and install the app on your smartphone or tablet running Android 2.3 or higher.
Register for an Iridium account
Navigate to www.iridium.com/mailandweb URL to fill out the registration form, follow the instructions and register for a username and password. Select ‘Iridium GO!’ from the device selection drop-down menu in the registration form. Registration for an account is free and required to use the application.
Pair the Android™ device with Iridium GO!
- Setup the Iridium GO! unit in an outdoor area with open access to the sky and adequate signal strength prior to use
- Flip up the antenna on Iridium GO! to turn it on
- Wait for Iridium GO! to initialize and establish connection with the Iridium network
- On your Android™ device, go to Wi-Fi setting and select ‘Iridium-xxxx’ network. Wait for your smartphone or tablet to connect to the Iridium GO! Wi-Fi network.
Login to the application
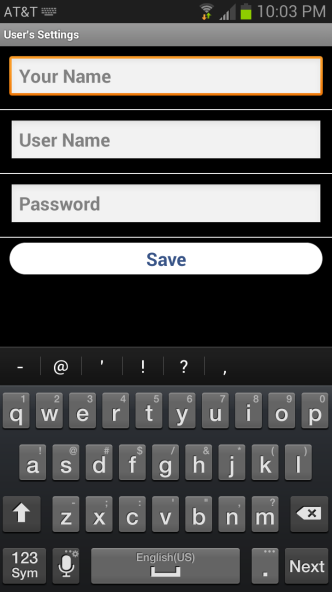
Open the Iridium Mail & Web app. You will be asked to enter the registered username and password in the initial User’s setting screen. Enter the credentials as supplied during registration and click on ‘Save’ to gain access to the application. Accept the terms and conditions outlined in the End User License Agreement popup. This dialog is displayed only on the initial user login.
Configure device connection type
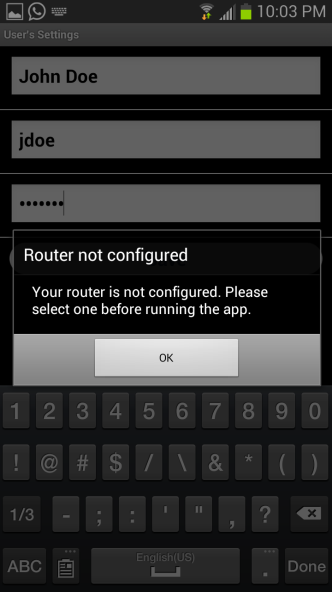
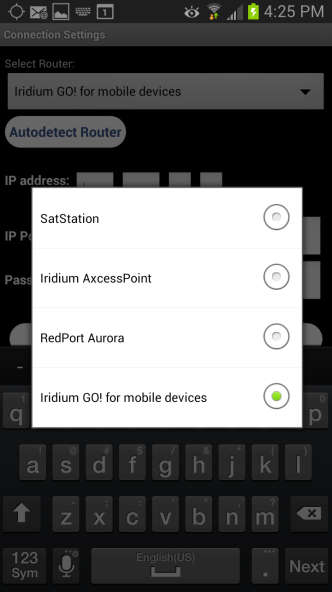
After logging in to the application for the first time, the app will guide you to configure the device connection type. Click OK to be redirected to the device selection screen. Select ‘Iridium GO!’ as your connection type and click the back button. Alternatively, you can run the device auto-detection capability by selecting ‘AutoDetect Router’ button.
Note: Ensure that the ‘Diagnostics’ is turned off. This is an advanced option and is used Iridium
support personnel to troubleshoot device connection & detection issues with the user.
Configure Web surfing
Iridium Mail & Web allows you to surf the web. To access web pages via Iridium Mail & Web, you
must first download, and install XWeb Satellite Web Browsing app from Google Play store.
To access web pages using Iridium Mail & Web:
- Click on the ‘Web’ icon on the home screen. The app will start dialing a connection.
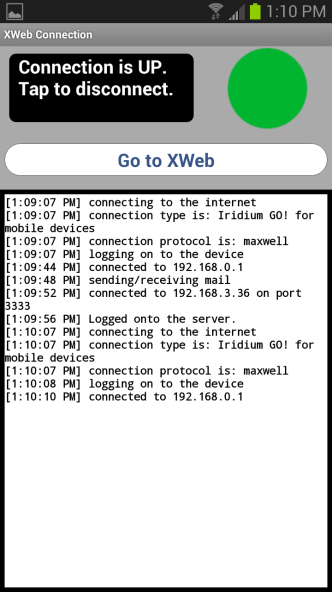
- After the connection is up, the app will automatically open the XWeb browser and ask you for username and password. Enter the username and password used for registration on www.iridium.com/mailandweb.

- Enter a mobile website in the browser and press "Enter" (see www.iridium.com/mobile for a list) .
- Continue to access Web content. When finished, close your XWeb app and return to the Iridium Mail & Web app.
- Click the "Web" icon on the main home screen and stop the data connection
Note: Airtime charges will continue while the connection is active. Do not visit standard Internet pages as videos and graphic-heavy pages designed for broadband networks will not download properly using Iridium Mail & Web.
Configure Social Media settings (Twitter)
- Connect to the internet at home before going on your trip. Twitter registration will fail if you are not connected to the internet.
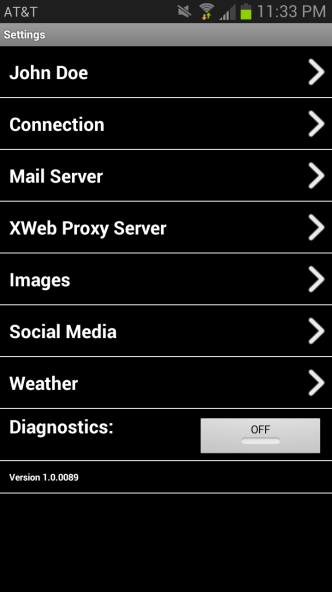
- Click on the Settings icon on home screen, select ‘Social Media’ and turn on Twitter
- A window will appear asking you to login to Twitter & authorize Iridium Mail & Web to post on your behalf. Enter the login information and click OK
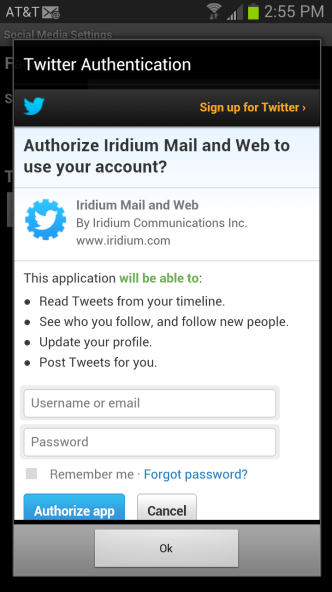
- A PIN will be generated once authentication has been granted. Record the PIN.
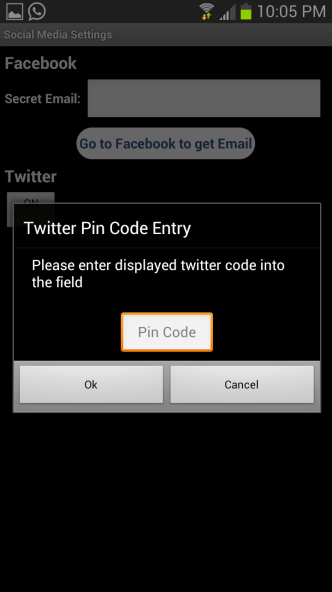
- Enter the PIN in the appropriate location and hit OK.
Once this configuration is complete, tweets can be posted via Iridium Mail & Web using the Twitter icon on the home screen.
Configure weather forecast service
The application provides various user-customizable settings for the weather forecast service. To configure these settings
- Click on Settings icon on the home screen
- Click on ‘Weather’
- Set locales: allows you to request weather information for different locations.
You can either save current location, enter latitude\longitude coordinates manually or
select from a list of approx. 9000 airports worldwide
- Click on ‘Locations’

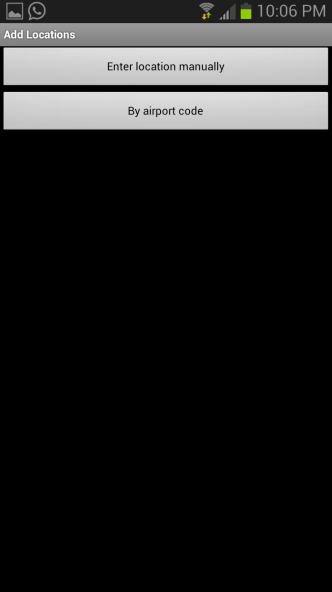
- To add a location, click on ‘Add Another Location’ button.
- Current location is automatically saved.
- ‘Enter Location manually’ option allows you to enter location lat\long
coordinates manually in decimal format (ex. Lat: 40.76 N, Lon: 73.984
W) and add a name (ex. New York, NY). Other formats such as degrees
minutes seconds, degrees decimal minutes are also supported. You can
set the format in Weather settings. - Select airport: Selecting the ‘By Airport Code’ allows users to search
for an airport either using the 3-letter airport code or by city name
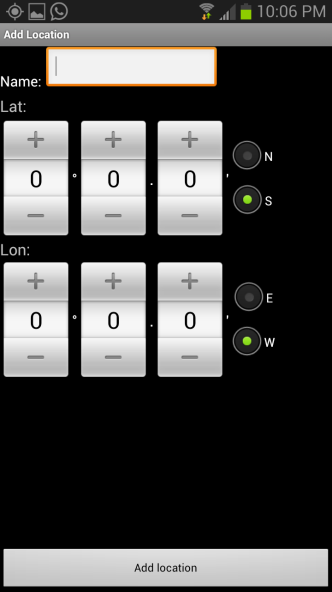
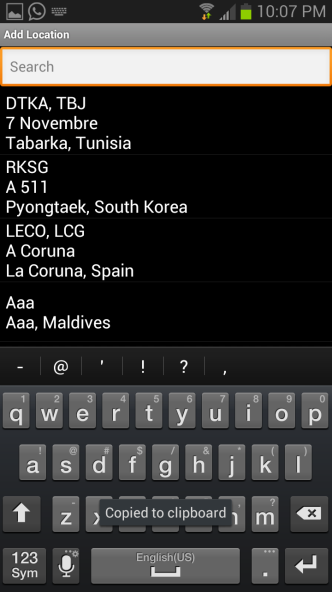
Enter a user-friendly name
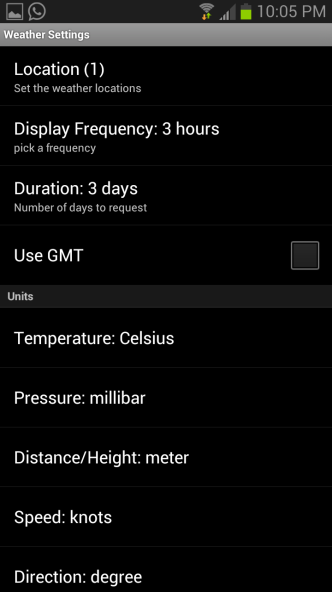
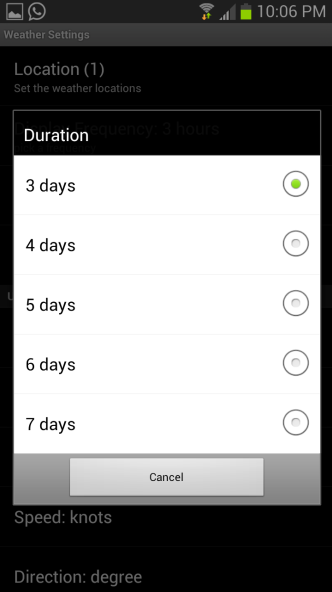
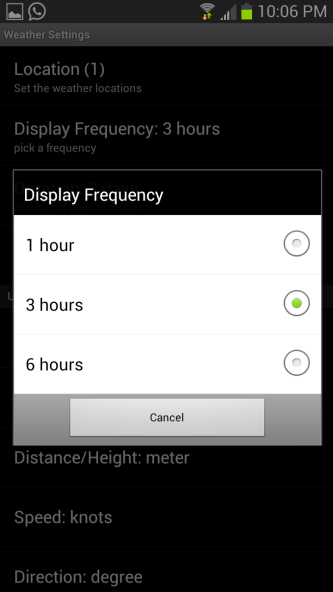
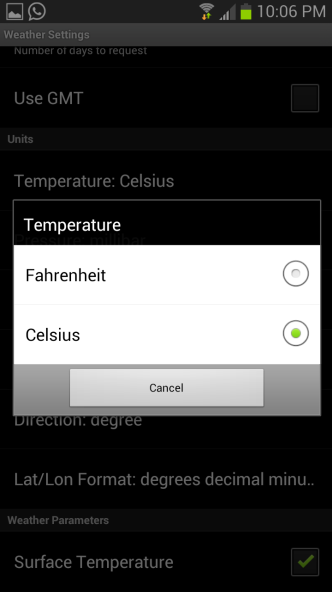
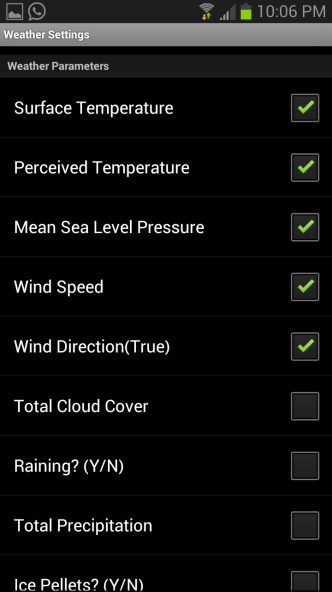
- Configure the display frequency, duration (days), units and types of various weather
parameters to request forecast
Exit Settings and return to the home screen
You are now ready to use Iridium Mail & Web features.
Comments
0 comments
Please sign in to leave a comment.